


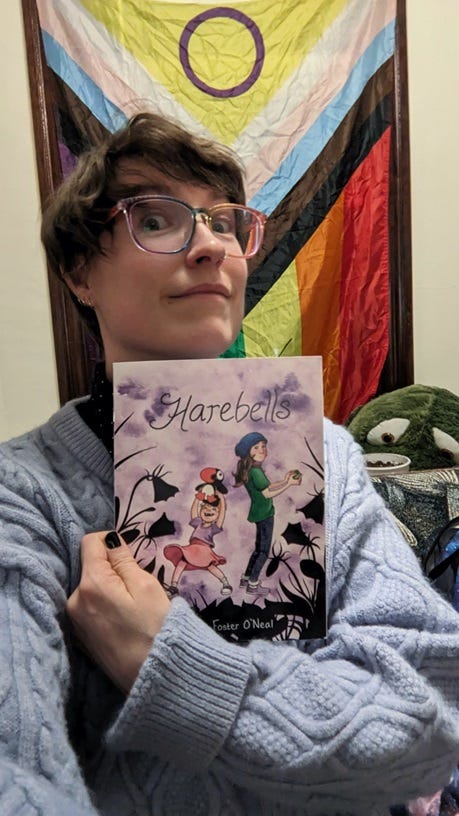
Behind the Scenes: Harebells
process post about how I made my first year final project

I’m a nerd for process posts — how did people make the things they made? SHOW ME EVERYTHING!!! So that’s what this is: how I made my final project comic, from idea to a thing you can hold in your hands.
The assignment specs were really broad: make a comic, about anything you want, at least 16 pages*, produce 20 printed & bound copies. You have 4 weeks**. (*I got special permission to do just 12 pages, because of my time constraints and the fact that I wanted to watercolor the whole thing.)(**I still ended up needing an extension.)
So, first step was story. I wanted to make something that would serve as a portfolio piece, representative of the kinds of stories I want to tell, in the medium I want to tell them in, but in bite-size form.
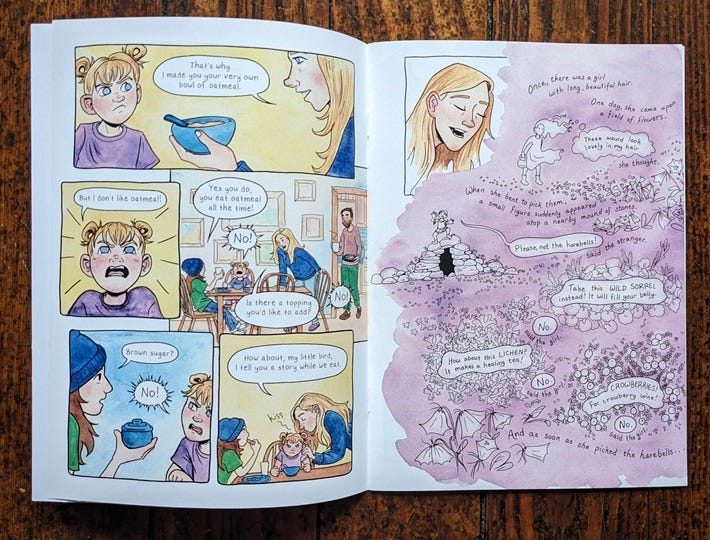
In February, I’d had three weeks to write an entire original graphic novel script, and I DID — I wrote a middle grade story about two sisters, Berit and Rúna, who move with their dad to their aunt & uncle’s rural sheep farm on an island off the coast of Iceland while their mom is in the hospital with a high-risk pregnancy. To cope with the shifting landscape of their lives, the kids turn to the wild, ragged landscape around them for comfort — and discover a magical world just below the surface. Steeped in Icelandic folklore, it’s a really sweet story of uncertainty, imagination, family, and growing up. There are puffins and trolls and a giant polar bear! It’s great! With any luck, and a LOT of work, it will be an actual graphic novel someday!
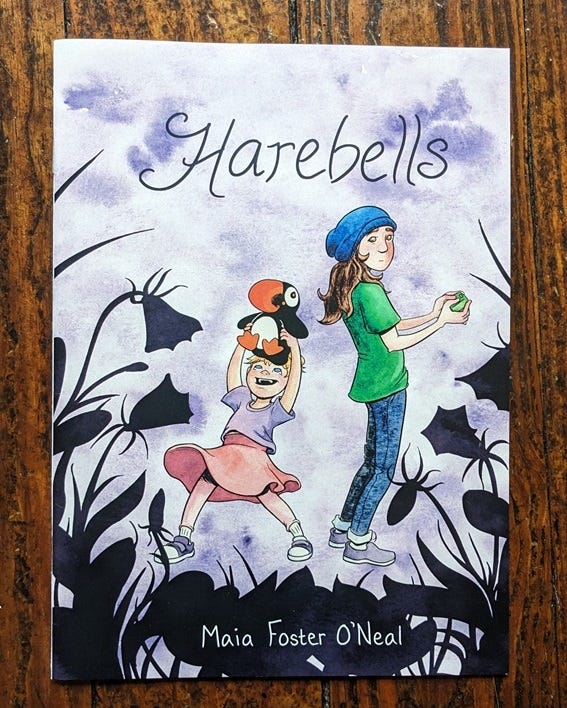
After rejecting a few other ideas, the story I ended up writing for my final project is a one-shot, taking those same Icelandic kids and telling a story about an important moment that happens a few months before the point where the full graphic novel picks up.
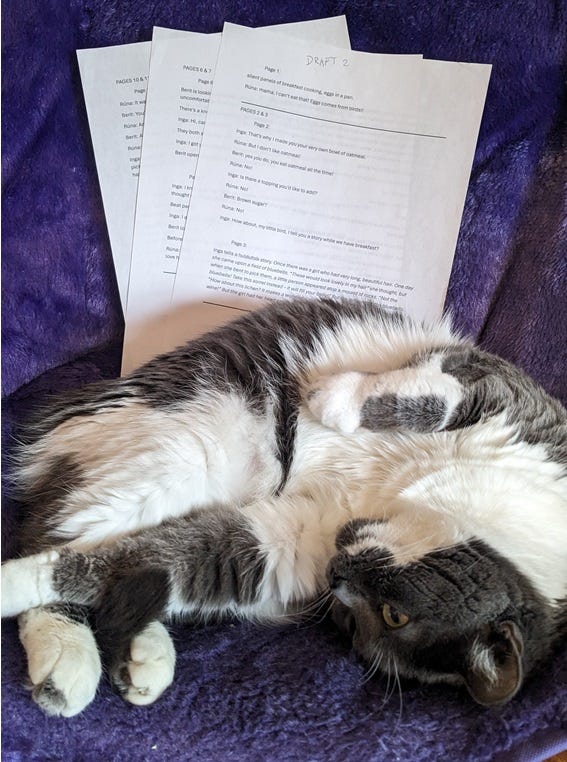
The script went through about 3 rounds of edits, incorporating feedback from my crit group (three of my classmates + middle grade graphic novelist Jarad Greene) and my professor Tillie Walden.
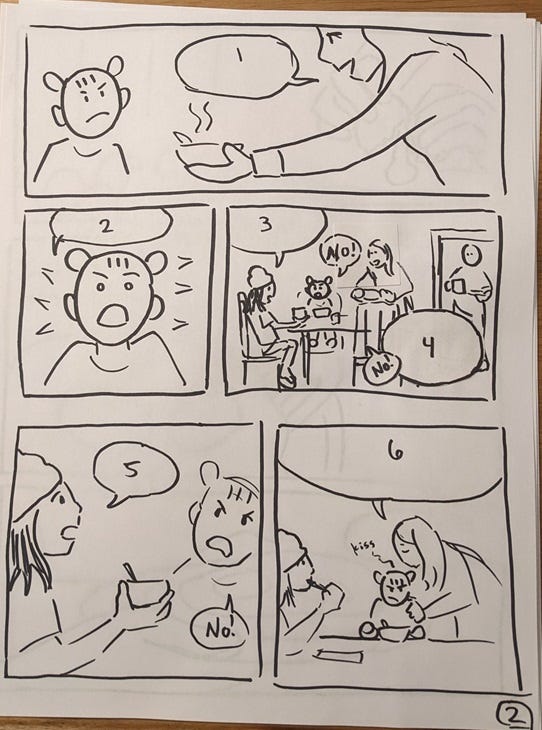
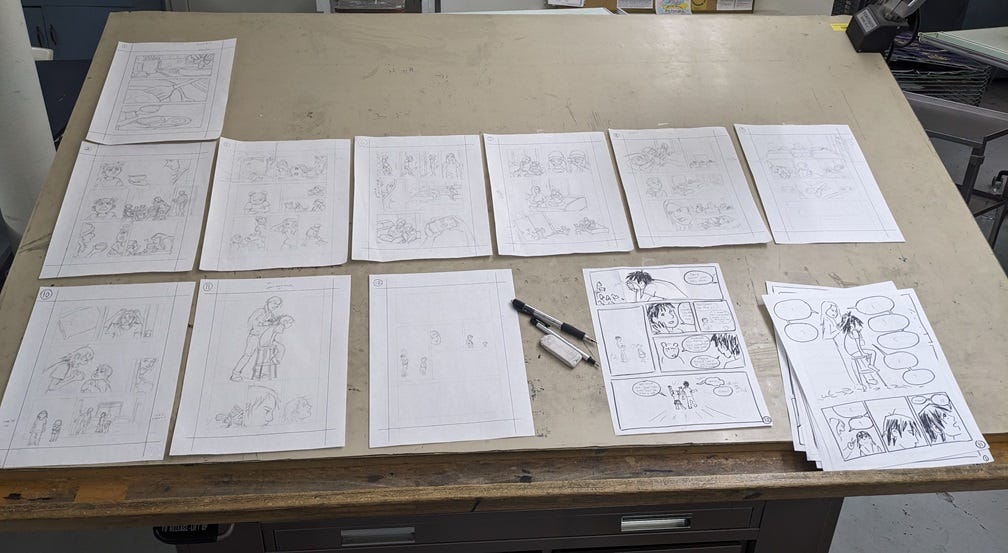
Then it was onto layouts/thumbnails. Converting words to visuals is hard. This is the stage of the process where I’m like wow, have I ever drawn anything in my life, I do not think so, what does anything look like, I have no idea. Even with an average of 2 full do-overs per page, I ultimately came out with pages that looked like this:
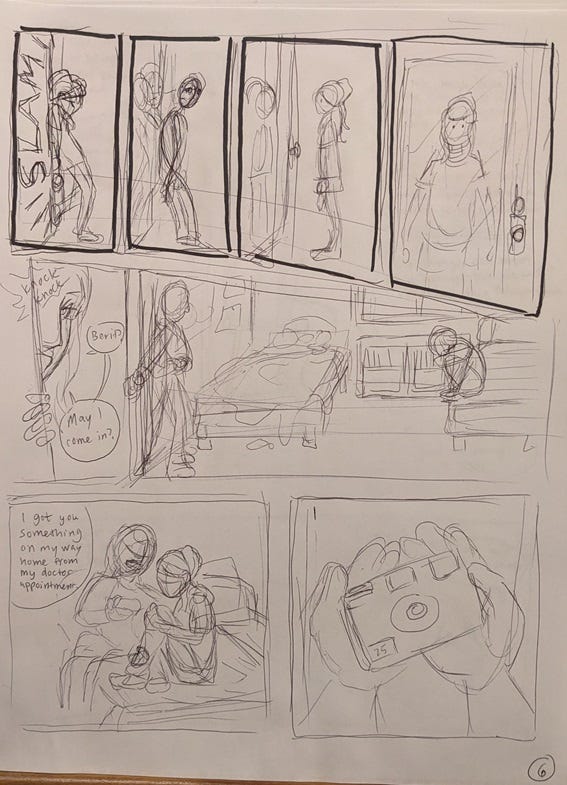
For some of the messier ballpoint pen pages, I made a cleaner copy with a sharpie, just so I (and my long-suffering crit group) could tell what was what:
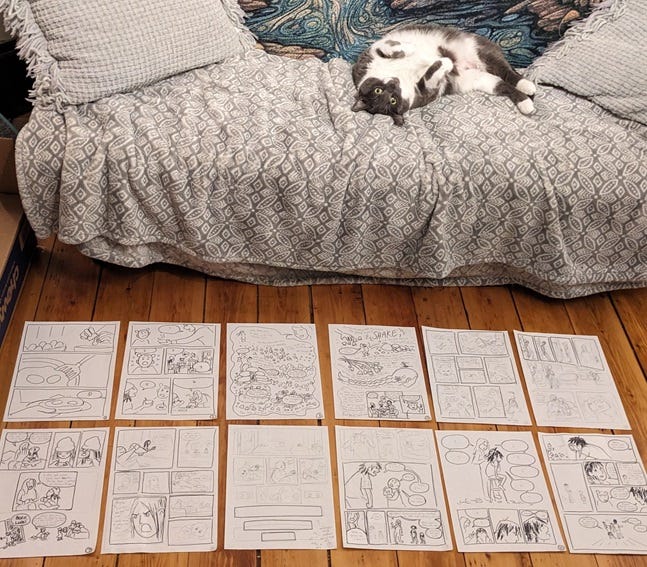
Biiiig trust-the-process vibes. After wrestling with an angry alligator (my brain) for a week, I had my 12 pages of thumbs.
Then, pencils! I love this part. This is the part where I’m like oh thank god, I can draw, but also the part where I’m like wait I have to draw a bedroom how many times from how many angles?? This is unacceptable I need to speak to your manager. (It’s me, I’m the manager.)
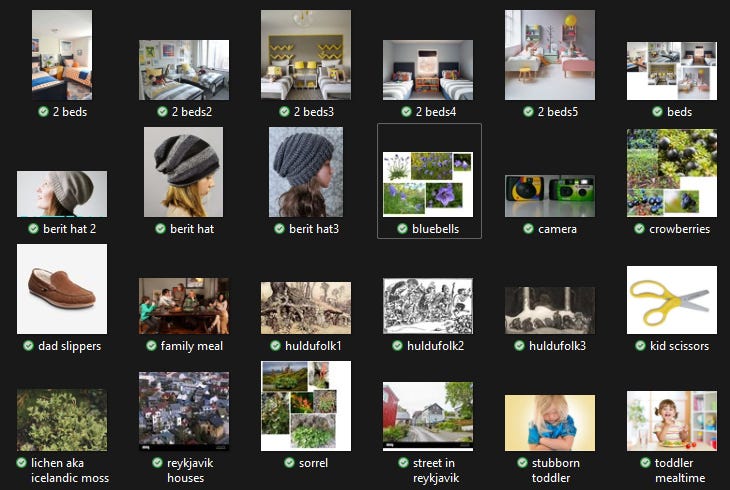
You know what can make that marginally easier? Reference images. Here’s my folder of reference images just for this comic. Y’all, I looked at soooo many Ikea bedrooms on pinterest.
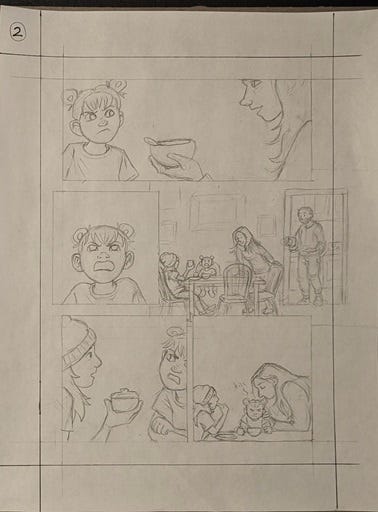
But lo! Pencils! Tight pencils! Tight pencils mean less work at the inking stage — mostly just tracing your own work and making some adjustments for sizing/placement.
I got about 92% through my pencils and then just… didn’t do the last 8%, for the sake of time. I delegated the unfinished panels to Future Maia (who did, indeed, finish them at the inking stage), scanned the pencils I had, digitally converted them to blue lines to make them easier to tell apart from my final lines, and started inking. (Digitally, in Clip Studio Paint.)

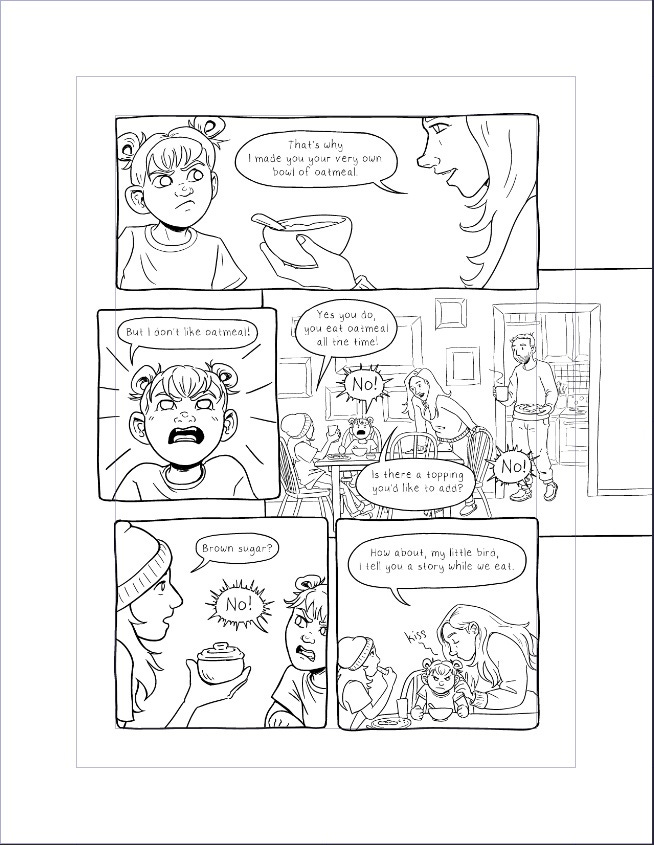
I love inking! I love inking so much! It’s my favorite! It’s so satisfying to see everything crystalizing into nearly finished art. But before inking the fun stuff (characters) and hard stuff (backgrounds), I laid in the panel borders, speech balloons, and lettering. Doing that first is useful so that I don’t ink a whole panel and then realize I ran out of space for the dialogue.
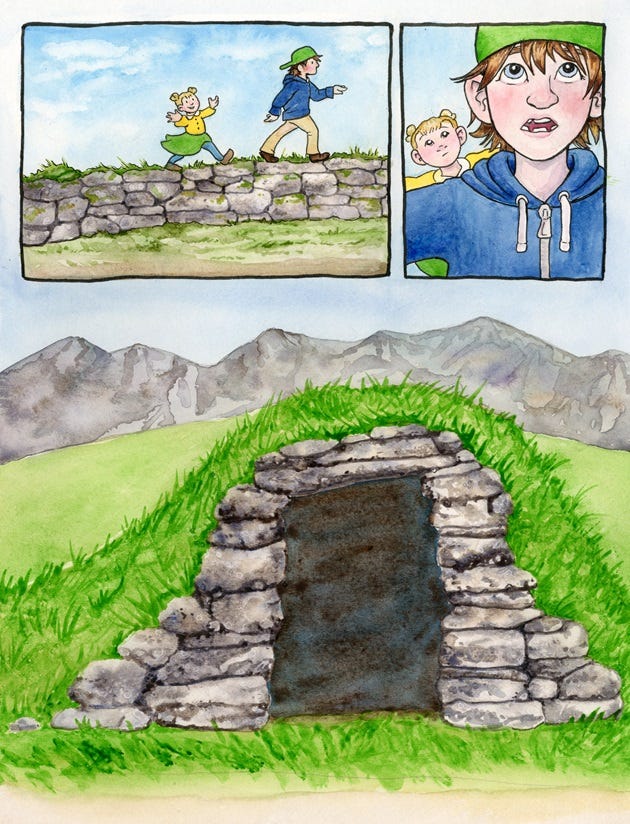
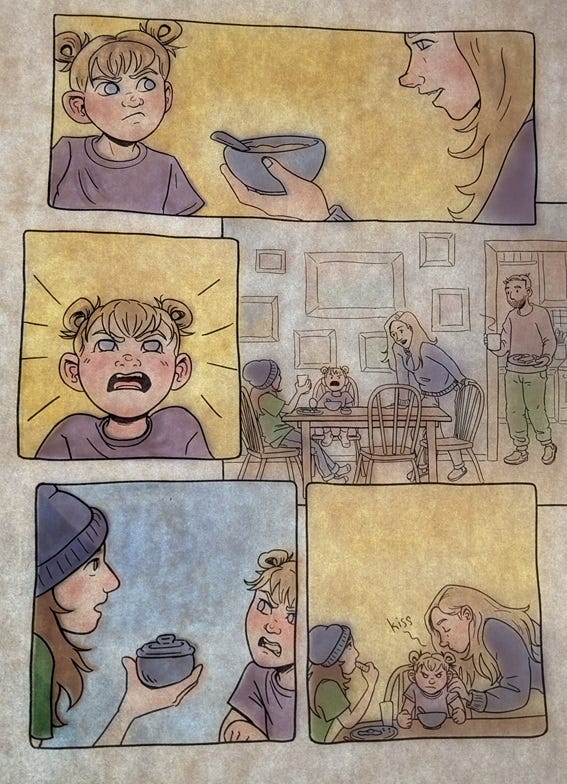
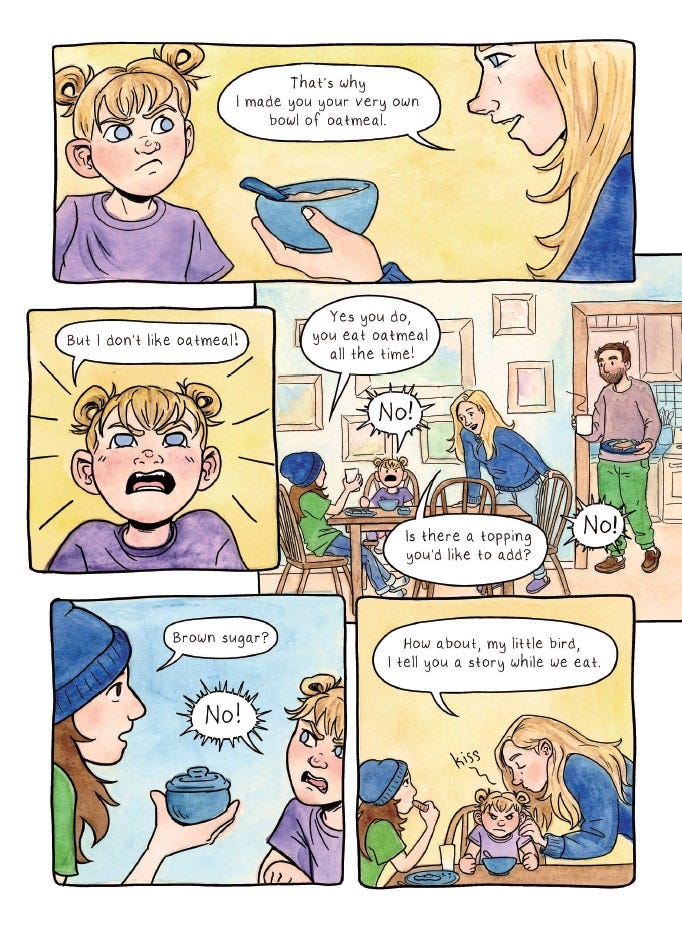
This is a fully finished page of inks, including the lettering and speech balloons.
Halfway through inking, I realized there was no way I was going to hit the deadline if I still wanted to watercolor everything, so I turned in an uncolored but otherwise fully finished version of my comic on time, and Tillie granted me an extension for color. That meant I had one (1) week to watercolor 12 pages plus covers, and do all of the printing and binding.
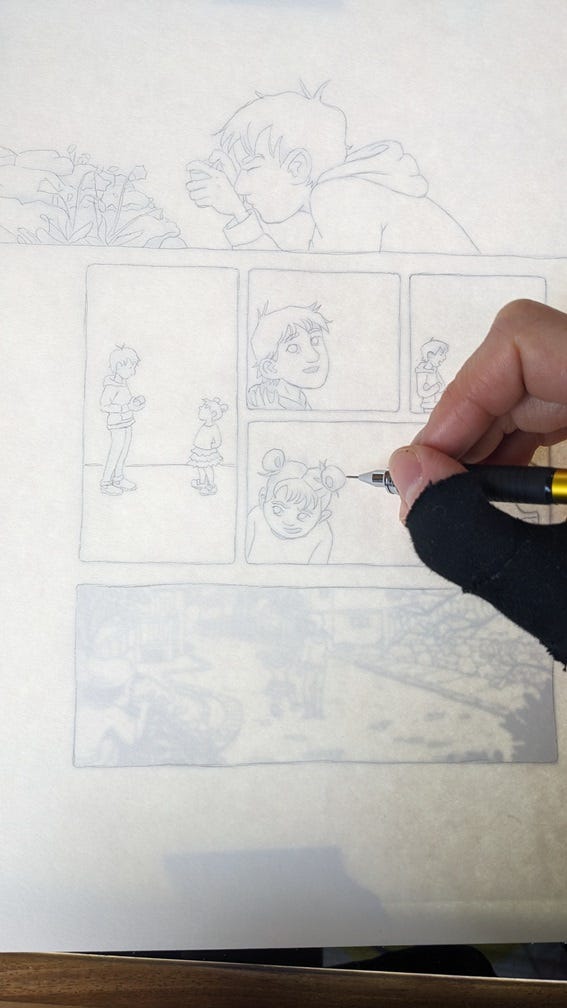
Problem: you’ve got linework on the computer that you want to watercolor with an honest to god paintbrush, but regular printer paper can’t handle wet media like watercolor, and printers can’t handle the thickness of watercolor paper. Solution: print your inks on normal paper, borrow a lightbox from the school library, and spend a day and a half retracing all your lines onto watercolor paper with a very fine mechanical pencil. If it works it works, right?
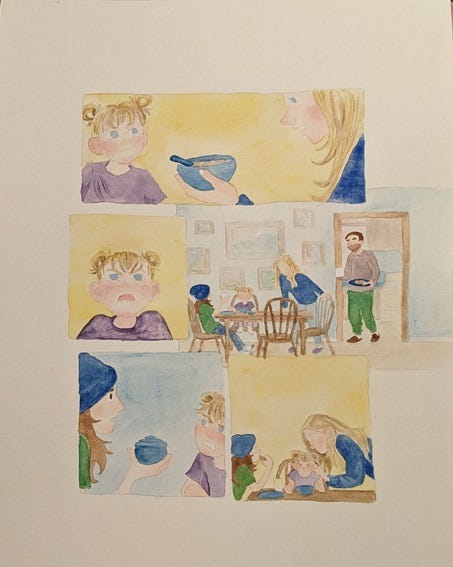
I allotted about 3 hours per page for watercolors, which meant keeping it pretty simple: flats and some cel shading, not a lot of rendering or complicated stuff with light and shadow. This is the result, although it looks marginally better in person than this 72dpi cell phone photo taken in the mood lighting of my living room.
Here’s what a watercolor page + a page of printed inks looks like on the lightbox, as a low-fi preview of what the two will look like when combined digitally.
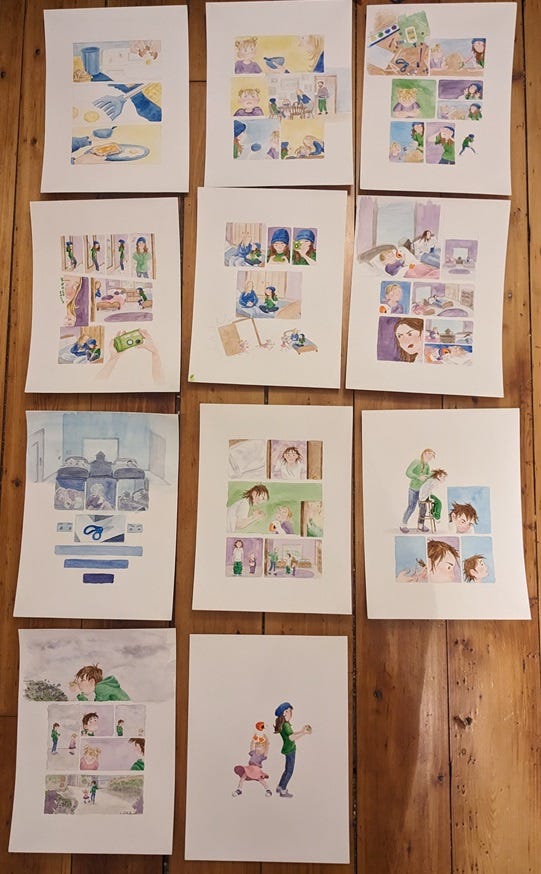
Here’s all the watercolored pages laid out in order, plus the cover.
Then back to the lab to scan all the watercolored pages. Page by page, panel by panel, line up the inks and watercolors in Clip Studio. Digitally edit the watercolors here and there around the edges for clarity. Get carried away and do this obsessively for six hours. Pound a bag of chocolate chips. Adjust brightness, contrast, and color balance to try to get the colors on your screen to match the vibrancy of the colors on your actual watercolor paper. (Fail at this, but you won’t know until you’ve printed 20 copies, and by then it will be too late. It’s fine; you can redo and reprint later. You’ll want to overhaul the whole comic after crit anyway.)
FINALLY. IT’S PRODUCTION TIME. Convert all your files to tiffs, arrange them in the InDesign templates that Past Maia made three and a half weeks ago for this project, double check all your file settings, and PRINT, BAYBEEE.
In a haze of Getting It Done, I forgot to take pictures of this part, but production was 4 hours in the lab of printing, saddle stitching (stapling), and using my favorite terrifying machine, the industrial paper cutter, to do final face trims.
AND IT IS DONE.
I’m very proud of it, and also IMMEDIATELY want to redo it. But I must wait, because I am on a strict art break for at least two weeks while I let my hand — which I injured through overuse on this project, oops — rest and recover.

You can read the whole comic here.
woah!!!! thank you for sharing all the steps and process pictures thats amazing
That is a STAGGERING amount of work!